


 Subscribe
 Instagram
 Facebook
 TikTok

Mending – Saving Clothes From Landfill One At A Time
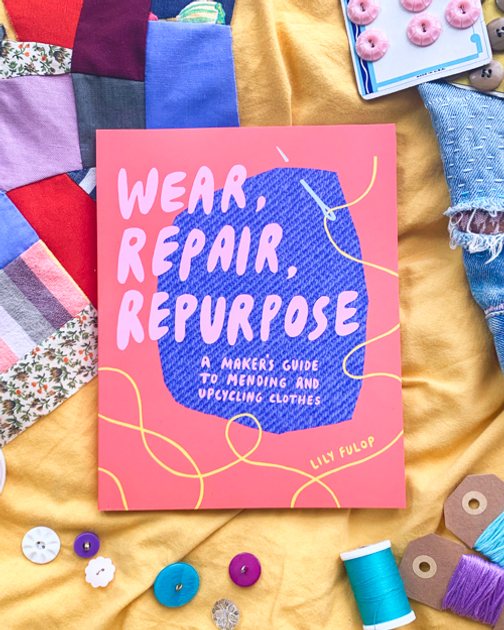
Lily Fulop is on a mission to inspire us to be more mindful about our clothes. Her book Wear, Repair, Repurpose, is a hands-on guide to mending and upcycling.
Lily Fulop wanted to make a book to educate people about fashion sustainability and inspire them to mend and modify their clothes. Her book Wear, Repair, Repurpose, came out last spring. We interviewed her about how to extend the lifespan of our clothes and learn some useful clothes repair techniques. See the practical tutorials at the end of the article!
Tell us about your book! Why did you decide to make this book and what is the core message of it?
When we care for our clothes, and become more mindful of throwaway culture, we end up consuming less, and having a smaller environmental impact. The book is meant to be a guide to learning clothing repair techniques, as well as how to create one-of-a-kind fashions and home goods to divert fabric from landfills.
Did you learn something about mending & clothes yourself while doing the book?
Yes! The year I started the book was the same year that I started learning about mending techniques. I’m not an expert by any means… I’m learning and teaching at the same time, and sharing my journey to encourage other people to get started too. Hopefully, this makes my mission more accessible and less intimidating!
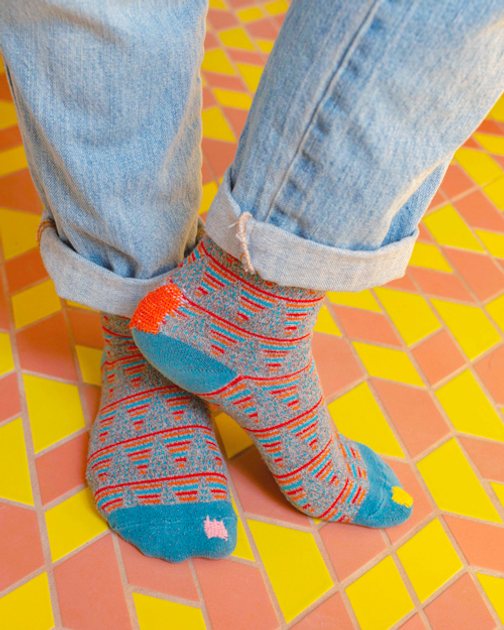
I’ve learned how fulfilling it is to repair my clothes, and have a wardrobe that is uniquely mine. My clothes are mostly thrifted, second-hand, or vintage, and many of them have mends that make them even more special. I’ve also learned more about the construction quality of clothes— I know to look for things that are made well so that they’ll last. I know more about fiber content now too and seek out clothes made from natural fibers that’ll be breathable and easier on the earth.


Who should buy your book?
Anyone who loves fashion, loves the environment, or loves crafting/making! The book has the basics for beginners who don’t know how to sew yet, as well as more complex projects for more experienced makers. Mending is a great skill for vintage-lovers, especially, because knowing how to do simple repairs/alterations opens up the possibilities of what you can re-love and rewear.

What equipment & tools do you recommend everyone to have at home? What would be the First Aid Kit of mending?
• Two sizes of needles— one for thread, and one for embroidery floss
• Thread
• Embroidery floss
• Scissors
• Spare buttons
• Safety pins (for temporary quick fixes, or for holding fabric in place while you’re sewing)
• Seam ripper (for taking clothes in or out, and re-working silhouettes)
• Spare fabric scraps for patches.
What fixes do you recommend to leave for professionals?
Replacing zippers, shoe repairs, anything leather, and alterations on garments with delicate fabric, or with multiple layers/linings – for example, hemming a silk bridesmaid’s dress, or taking in a lined coat.
Any other reliable sources where to see more tutorials or mending inspiration?
Yes! Erin Eggenburg of @wrenbirdmends is great for denim repair, Celia Pym turns darning into an art form, Jessica Marquez of Miniature Rhino teaches decorative and functional sashiko stitching, Marlen Meinders of @milli_and_the_bee posts great process videos, Sasaki Yohinten is great for vintage denim patchwork inspiration, and Visible Mending for mending experimentation.

Something else we should all know about mending our clothes?
Just give mending a try! It can be functional, without being pretty. It can be functional and pretty. It can be intentionally visible and statement-making, or it can be subtle and hidden. There’s no one way to mend, and you can do whatever works for you and your style. The important thing is making your clothes last and resisting throwaway culture.
Two Tutorials from Lily’s Book
How to Hem Your Garment (Without a Sewing Machine)

You will need:
• Something to hem
• A ruler
• Tailor’s chalk or a washable marker (optional)
• Straight pins
• Thread or embroidery floss (choose a fun color if you want the alteration to be more visible)
• Needle
1. First, figure out where you want your pants/skirt to fall, and mark it with chalk, a marker, or pins. Pins are great, because the mark is still visible when you turn the garment inside-out. Continue that mark all the way around the pant leg/skirt, using your ruler to make sure it’s even. Caution: do not cut along this line!! Instead, measure about two inches below your marked line, and cut there. You can save the cutoff fabric for an upcycling project.
2. Turn your pants/skirt inside out.
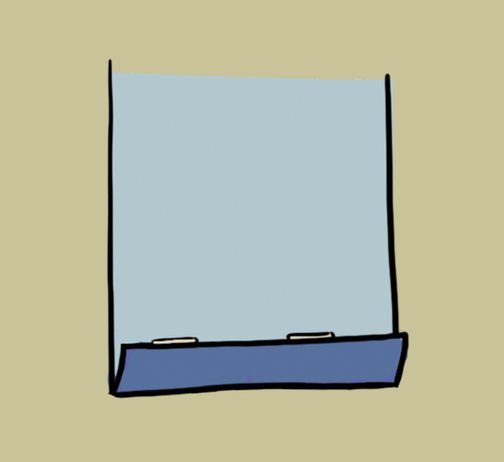
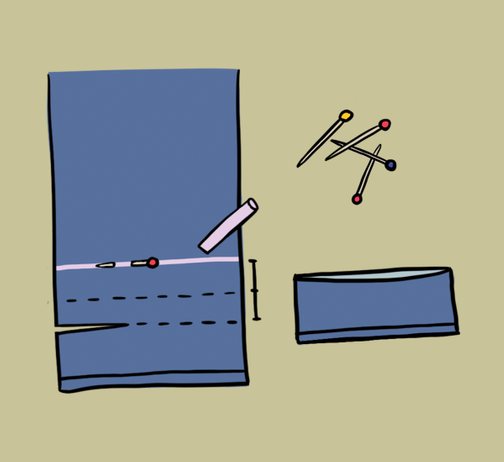
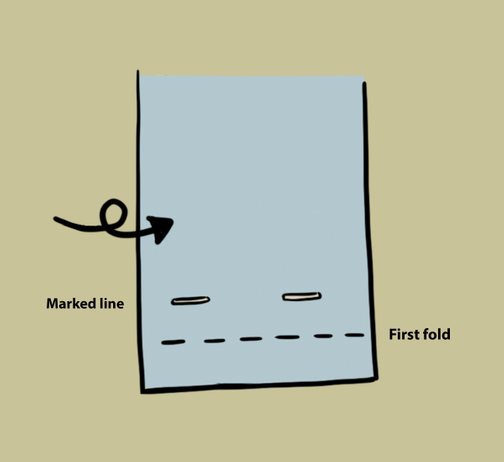
3. Fold the fabric up so the edge hits the marked line. Iron it so it stays.
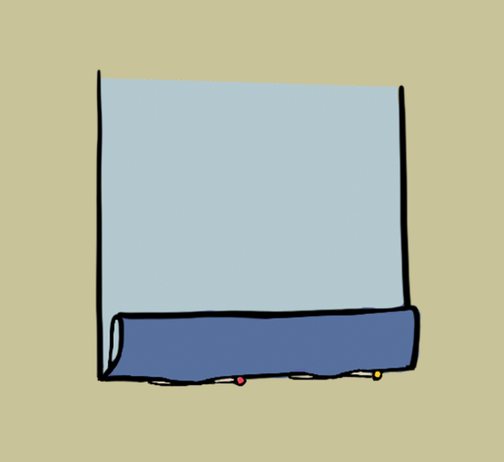
4. Then, fold your fabric once more, at the marked line. The line will now be the bottom edge of the hem— just the length you wanted it to be! Iron it to stay, and pin in place. This way, the hemline won’t budge as you stitch it.
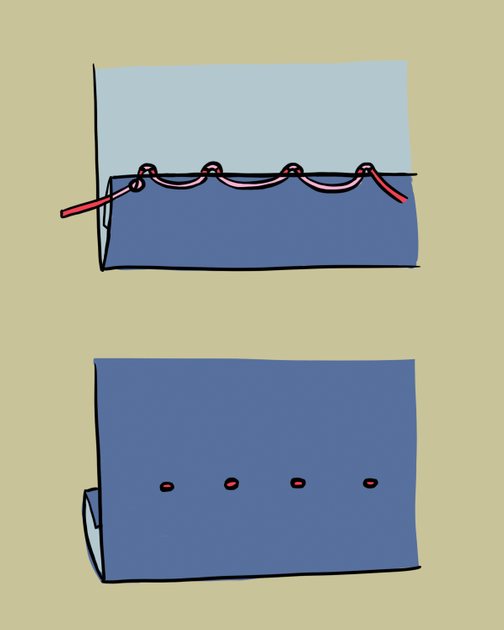
5. Sew all the way around using the pick stitch, keeping the longer stitches (and the knot) hidden in the channel of the fold. Only a small "pick" will show through to the outside.
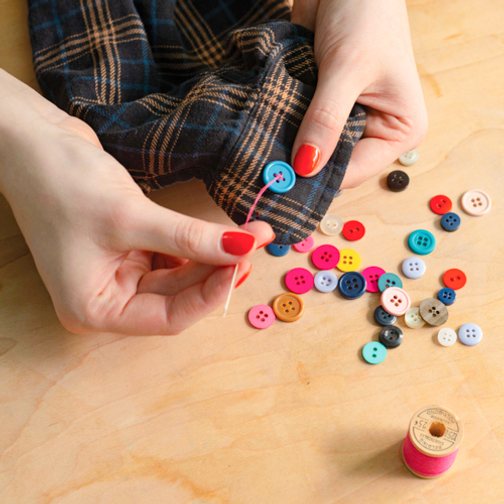
How to Sew a Button
You will need:
• Button
• Needle
• Thread
1. Tie a knot on the end of your thread. Next, pull your needle from the back of the fabric to the front, then through a hole in the button and back down through another hole, and through the fabric again.
2. Loop the thread through the fabric and the holes in the button several more times until it feels secure. Don’t pull these threads too tight—you don’t want the button right up against the fabric. There should be some space between the button and the fabric for the button to be functional.
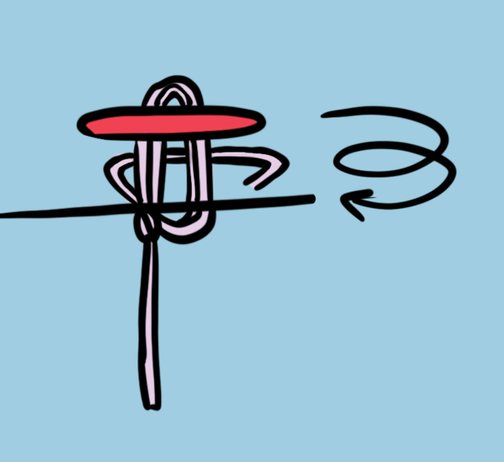
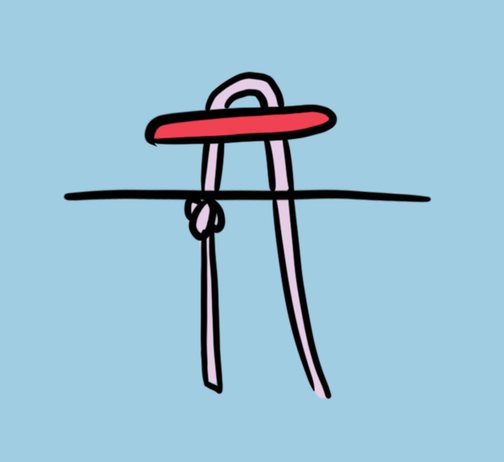
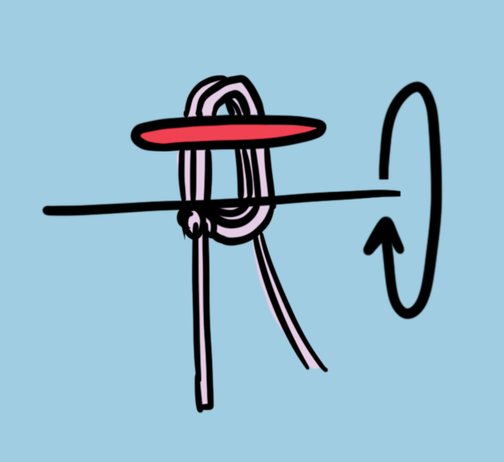
3. To protect and stabilize the threads holding the button down, bring your needle between the button and the fabric, then wrap the thread around and around the other threads. This creates a protective column of thread between the button and your fabric.
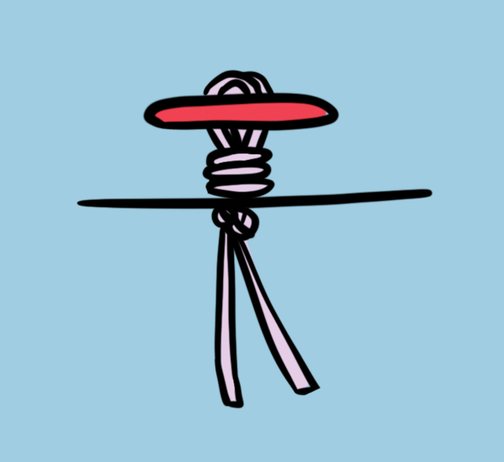
4. Bring the thread to the back of the fabric, and tie it to the other tail. Always make a double knot (at least!)
See more:
Buy the book Wear, Repair, Repurpose
Lily Fulop on Instagram @mindful_mending
 patchwork denim